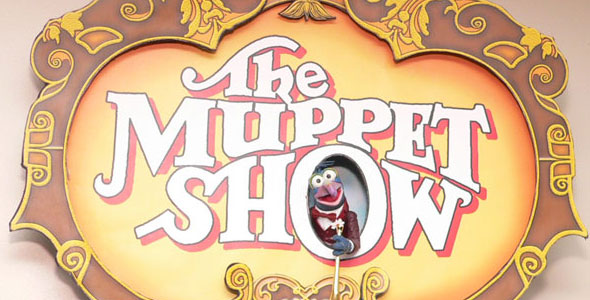
Muppet Show Sign DIY
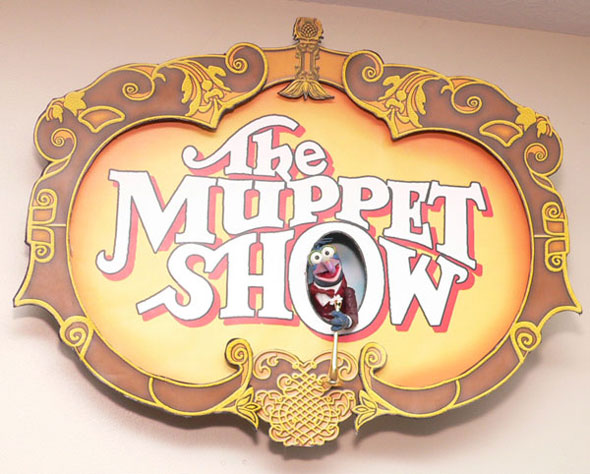
This is one of those things that kind of fell off the site when I redesigned it a couple years ago. I really regret that it’s taken so long to get it back. Of course, having a Muppet movie in theaters doesn’t hurt either.
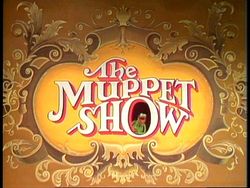 Back when my Palisades Muppet collection was still growing, I really wanted something to set it off visually. There was a fair amount of wall space above where I have them displayed, so I figure what better thing than big Muppet show sign! So I spent a number of hours creating the graphics that I would need to create the Muppet Show opening sign.
To make your own, use the the button below to get the graphics. It will ask you to tweet about this page, then you will get the download.
Download here
WARNING: FOR BEST RESULTS TEST FIT AND DOUBLE CHECK EVERYTHING YOU CUT, GLUE, APPLY ETC..FOR BEST RESULTS!
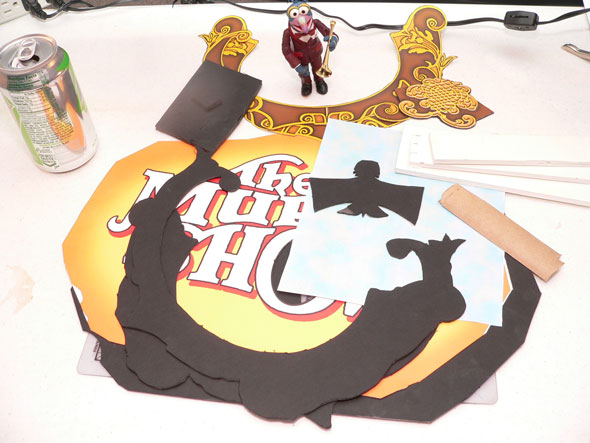
Step 1. Print everything out. I will tell you the body of the sign is bigger than 8 1/2 x 11. If you really want this to look good take it to a local copy shop and have them print it on bigger paper.
My second hint is to take your time cutting the pieces out once they are printed. There a lot of curves here, so it takes patience. It’s not hard, but it is a bit time consuming.
After the paper printed pieces are cut out, use them as templates to cut out the backing pieces. I used black presentation board. The edges look a bit better than card board when it is cut.
I cut out the inside of the “O” and included the red. You might leave it to make the opening smaller or just be a tad more screen accurate.
Step 2. Create the box for the figure.
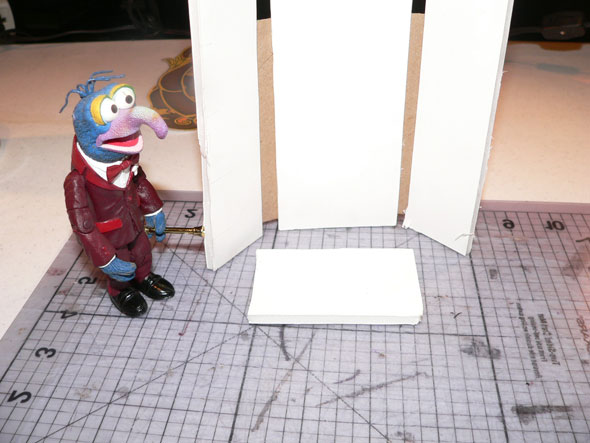
I probably went a little overboard on this. All I needed was a little place for the figure to stand. I made mine a bit tall because I knew it would be upper higher than eye level and you would see into and up behind Gonzo. Because this wasn’t going to be seen at all, I used white foam core. I prefer black foam board, which is about all I buy these days.
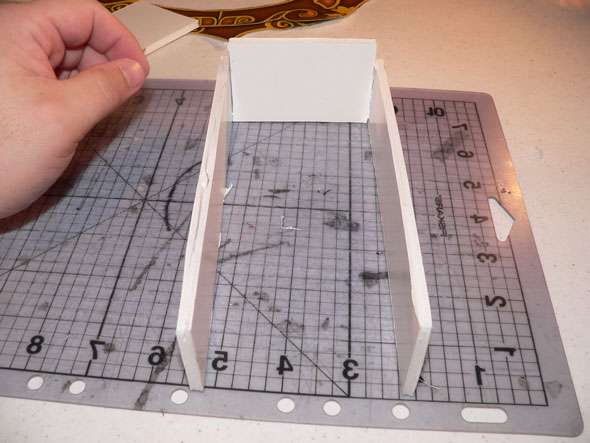
There is a bottom, back and sides:
Bottom: 3″x2″
Sides (x2): 1.5″x7
Back: 2.5″x7″
I use some thin card board from a paper towel tube to make some round corners. This seemed like it was needed at the time, but it would be fine with out it.
Step 3: Hot Glue the sides. Use a flat front surface and try to keep them square!
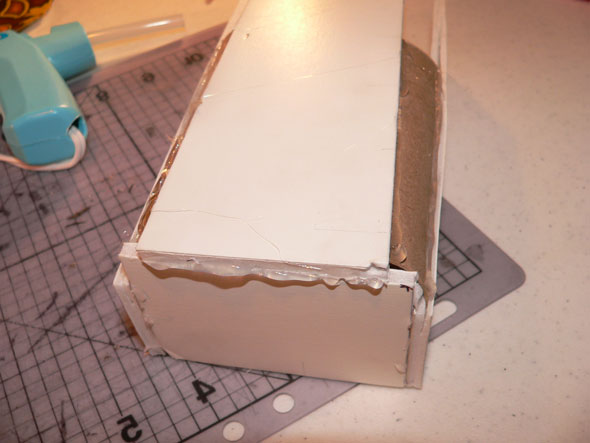
Step 4: Glue the back. I cut some small slits in the sides of the foam to insert the cardboard. I then wrapped them around and glued everything up.
Step 5: Breathe. If you did it close to right it should look like the picture above.
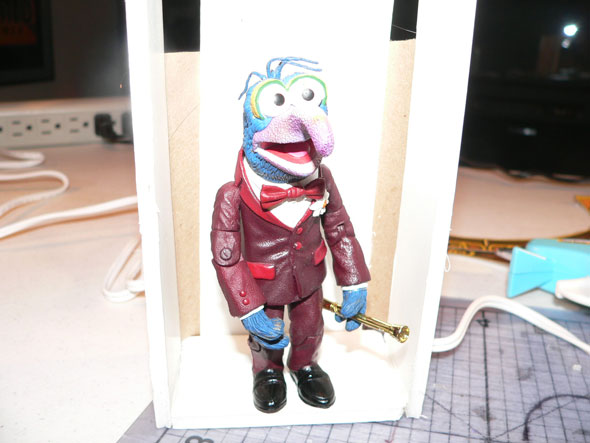
Step 6. Test fit the background. I made this bigger than I needed on purpose. I thought I might make it big enough for Fozzie, but I didn’t. The idea is to curve the background so that there are no hard corners.
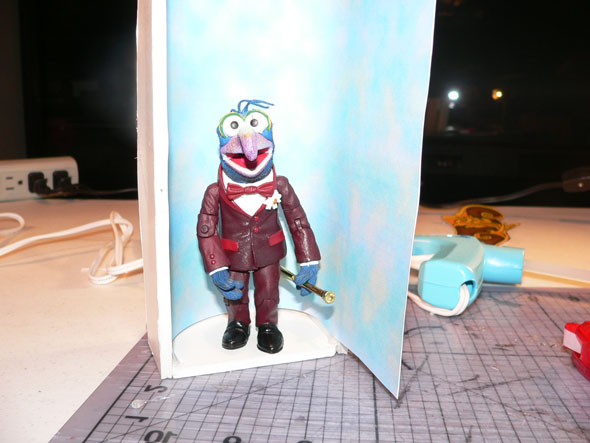
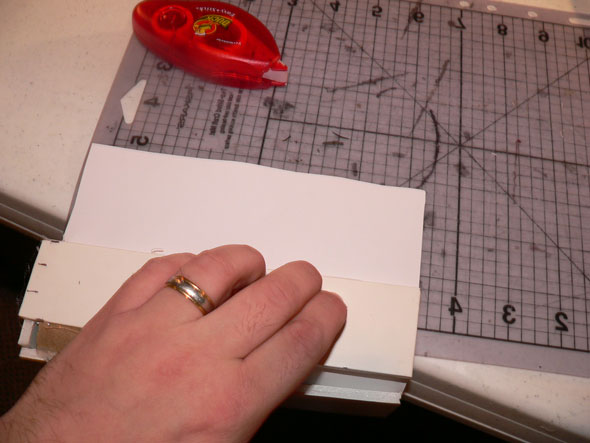
Step 7. Finish the background. Use double sided tape and attach the background to the box. Once it’s attached, trim off the excess. (Watch those fingers.)
Step 8. Here’s the finished box.
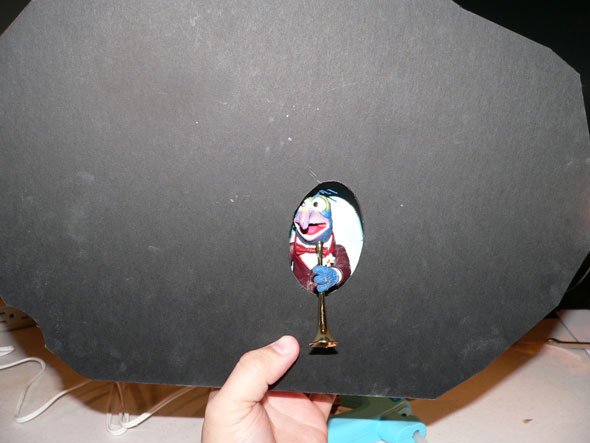
Step 9. Test fit the box. This is going to vary based on what figure you are using. An extra set of hands would be real helpful, make sure to mark a few places to line up on the back.
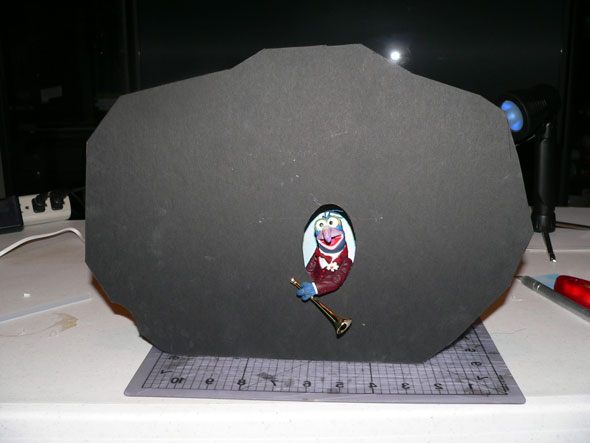
Step 10. Glue it in place. (It gets easier.)
Step 11. Apply a BUNCH of double sided tape. the more you apply, the flatter and more even you can get it to sit.
Step 12. Tada. You are getting there.
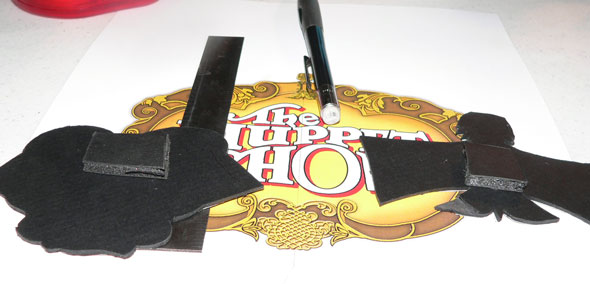
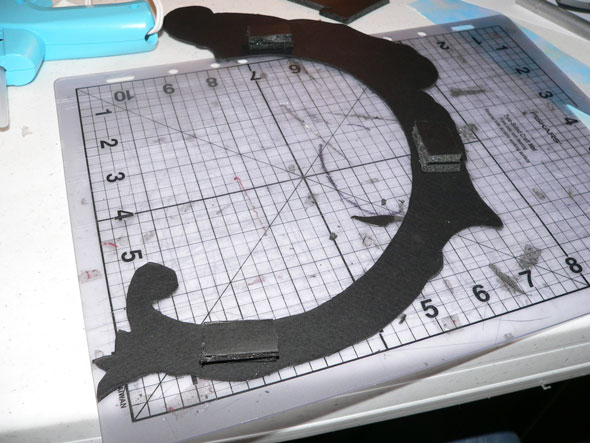
Step 13. Find the midline of the background. I printed out a small version to see how it lined up. I drew a pencil line down the center so I knew where to line up the top and bottom pieces. On to the back of each of those pieces I glued a small piece of foam core. This will let these pieces stand away. TEST FIT several times before gluing.
Step 14. For the side pieces, glued some foam core attachments to them. This time I used 2 pieces thick so they will sit in front of the top and bottom pieces. Look at the finished item carefully. I screwed one of these up because I had it upside down!
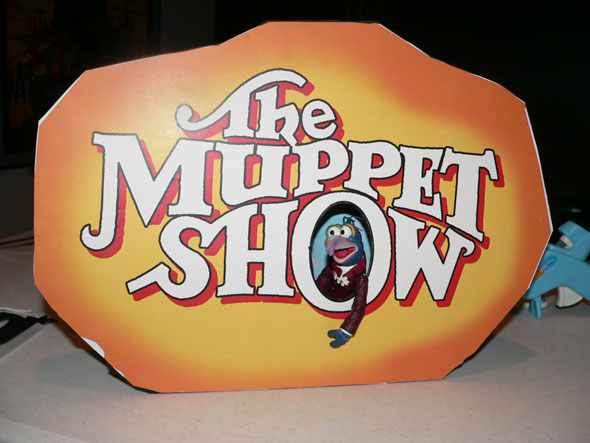
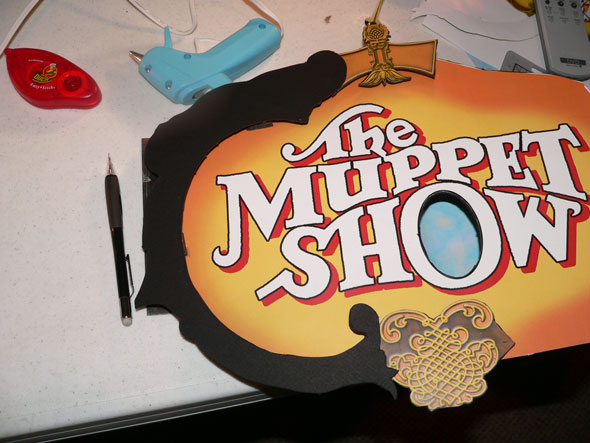
Step 15. I cannot stress how important test fitting is. There’s a corner of the background that stuck out funny on mine. I ended up trimming it some after test fitting. Here the center pieces are glued in place and have the graphics applied to them. Doubles sided tap. Get it close to the edges so it doesn’t peel back.
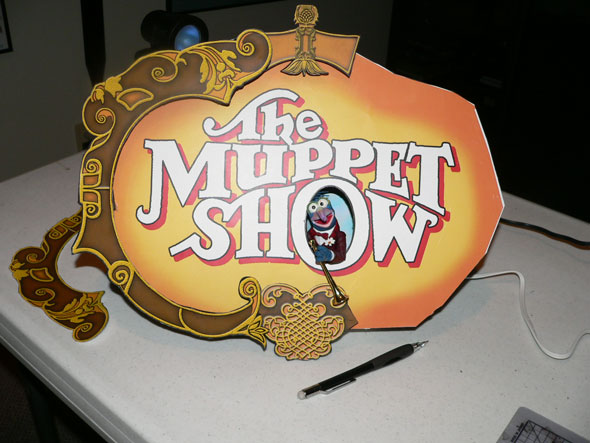
Step 16. Glue down sides. More double sided tape for the graphics.
Step 17. I added a small piece of cardboard to the back of the box to hang mine. The trick is fining the right hanging spot. I’ll leave those details up to you!
About the Author (Author Profile)
Comments (2)
Trackback URL | Comments RSS Feed
Sites That Link to this Post
- Monday News: You’re in the know « Planned Banter | January 23, 2012





Dude that’s fantastic.