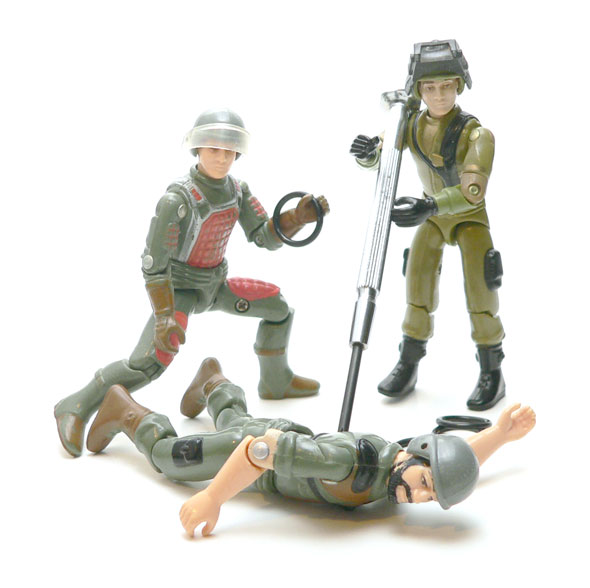
O-Ring Replacement for Old School GI Joes
Okay. This should be a review, but I scratched my cornea this weekend in a series of events that’s way too involved to go into here. Needless to say, my vision is slightly blurry today. So instead I present this small PSA.
Last year I was wanting to rehabilitate some of my older o-ring GI Joe figures. I’d used rubber bands and what ever was handy. This time I wanted to do it right. However, the rings I had were all stretched and I had no idea what size to use for this repair.
Justin from General’s Joes came to my rescue on Twitter. He let me know it was a #41 o-ring. Thanks for that Justin!
A lunch trip to Lowes yielded a me a pack big enough to fix the figures I needed to fix, and my soldiers were up and marching again.
I’d also like to throw a tip out there. If you are going to do this, use the right tool for the job. Get a small screwdriver that properly fits the screw in the figures back. Don’t use a knife. Also don’t use a slotted blade screwdriver for a cross headed screw. (It can slip and you will stab your hand.) You should also NOT use a power driver. If you apply a little too much torque you will strip the plastic.
I wanted to both thank Justin and pass the knowledge along. #41, now you know. And knowing is half the battle.
Category: Featured, GI Joe, Toy Reviews


Yes, definitely use the right tool for any job.
I found locally some o-rings that are slightly thicker than the ones you show, about half an inch of diameter that work quite well as replacements.
I’ll have to take a thickness measurement. I have that technology and never thought about it.
I had to power drive the screws out of my ’83 Clutch and ’88 Shockwave because once they are scraped, no screwdriver in the world can ever make them turn again. I went through 4 or 5 different ’83 Zap figures where the front and back wouldn’t align correctly so the heads would always wobble. Believe me, broken crotches have nothing on these other issues.